
Mob grazing is one of the most talked-about grazing strategies and one of the most misunderstood at the same time. You might be trying to improve pasture utilization, reduce selective grazing, build more ground cover, or stretch forage without adding feed costs. But when you start pushing stock density higher, the day-to-day decisions matter: how tight the mob is, how long they stay, and how long you rest each paddock.
This guide explains mob grazing and high-density grazing in plain language, then shares practical livestock management strategies that connect daily grazing decisions to broader operational goals for grazing cattle, grazing cows, and grazing sheep. You’ll get a simple framework you can adapt without guesswork.
What Is Mob Grazing?
If you’re asking what is mob grazing, think “short time, tight group, long rest.” You move a large group through a small “break” quickly, often once per day on average, sometimes every 1–3 days depending on forage growth and your setup. The payoff comes from recovery: one commonly reported range is roughly 40–100 days before that area is grazed again, adjusted to season and recovery speed. Expect frequent fence moves and water planning.
High-Density Grazing vs Mob Grazing vs Ultra-High-Density
- Think of high-density grazing as an umbrella: you increase stocking density to improve utilization and reduce selective grazing.
- Mob grazing is one end of that umbrella, high density plus deliberate trampling and longer recovery.
- Ultra high-density grazing sits at the extreme end: useful as a targeted tool, not a daily default for farms.
Treat the terms as a continuum, not a badge, so use them to describe management.
Quick Comparison for Farm Managers
| System | Stock density | Time for a break | Rest/recovery | Typical goal |
| Set stocking | Low | Weeks–months | Minimal | Simplicity |
| Rotational grazing | Medium | 1–7 days | Moderate | Utilization + recovery |
| High density grazing | Medium–high | Hours–days | Moderate–long | Better utilization |
| Mob grazing | High | Hours–~1 day | Long | Graze + trample + recovery |
| Ultra-high density | Very high | Hours | Long–very long | Targeted disturbance |
The 3 Levers That Decide Success for Mob Grazing
Understand how density, grazing duration, and recovery work together and how small adjustments to each lever determine pasture health, animal performance, and long-term results.
Density: “How tight is the mob?”
Density is “how many animals are on how much land”, often expressed as liveweight per acre. It matters because it changes behavior: tighter groups graze less selectively and spread manure evenly. But density should serve a purpose, not a scoreboard. Start with what you can fence and water, then adjust based on residual and animal behavior.
Duration: How long they stay
Duration is how long animals stay in one break. “Once-a-day moves” is a helpful starting point, not a rule. Some graziers run short stays like 8 hours for control, while others hold 1–3 days when growth is slower, or labor is limited. The aim is a quality first bite, then move before animals revisit fresh regrowth.
Recovery: The lever most farms underestimate
Recovery is the time a grazed area rests before it’s hit again, and it makes or breaks mob grazing. Set rest by plant recovery, not the calendar: spring growth can take shorter rests, while tougher seasons need longer. “Avoid the second bite”: don’t return until plants rebuild leaf area and vigor.
A Simple Method for Managing Stocking Density and Paddock Size
Learn a repeatable, field-ready method to calculate paddock size using herd liveweight, forage availability, and utilization targets without guesswork or complex formulas.
Step 1 – Convert herd to total liveweight
For high-density grazing or mob grazing cattle, start with headcount × average weight = total liveweight. It gives you a repeatable base for animal-day demand. Then estimate one day of demand in dry matter (DM). A practical starting point is ~2.5–3% of bodyweight/day for breeding animals. Stay conservative, then scale that demand to your move length.
Step 2 – Estimate usable forage in the break
Estimate forage on offer in the break as DM per acre. You can express availability as pounds of forage per acre and learning to judge it with practice. Usable forage is what your grazing cattle can actually eat at your target performance. Therefore, forcing overutilization can trigger a performance wreck, so use a conservative range until your eye is trained.
Step 3 – Set a utilization target that matches your goal
Choose a utilization target based on intent: more “top bite” if you’re prioritizing gains, more residue if you’re building cover. Many mob grazing references suggest ~60% grazed / ~40% trampled as litter as a starting benchmark, then adjust for wet soils, forage type, and animal class.
Minimum-Viable Setup for Mob Grazing
Discover the essential fencing, water placement, and cattle flow setup you need to run mob grazing smoothly without overbuilding infrastructure or creating daily bottlenecks.
Fencing that matches your species
For cattle, temporary electric polywire/polytape is a fast way to build small breaks, once animals are trained to respect a hot wire. Meanwhile, polytape is more visible than polywire and can improve control when animals test the fence. For sheep, plan for more “fence presence”: polywire, polytape, or flexible netting for temporary setup,s and multi-wire fencing trains sheep faster. Invest in good grounding/energizer quality, and don’t use charged barbed wire for sheep due to safety and conductivity concerns.
Water logistics
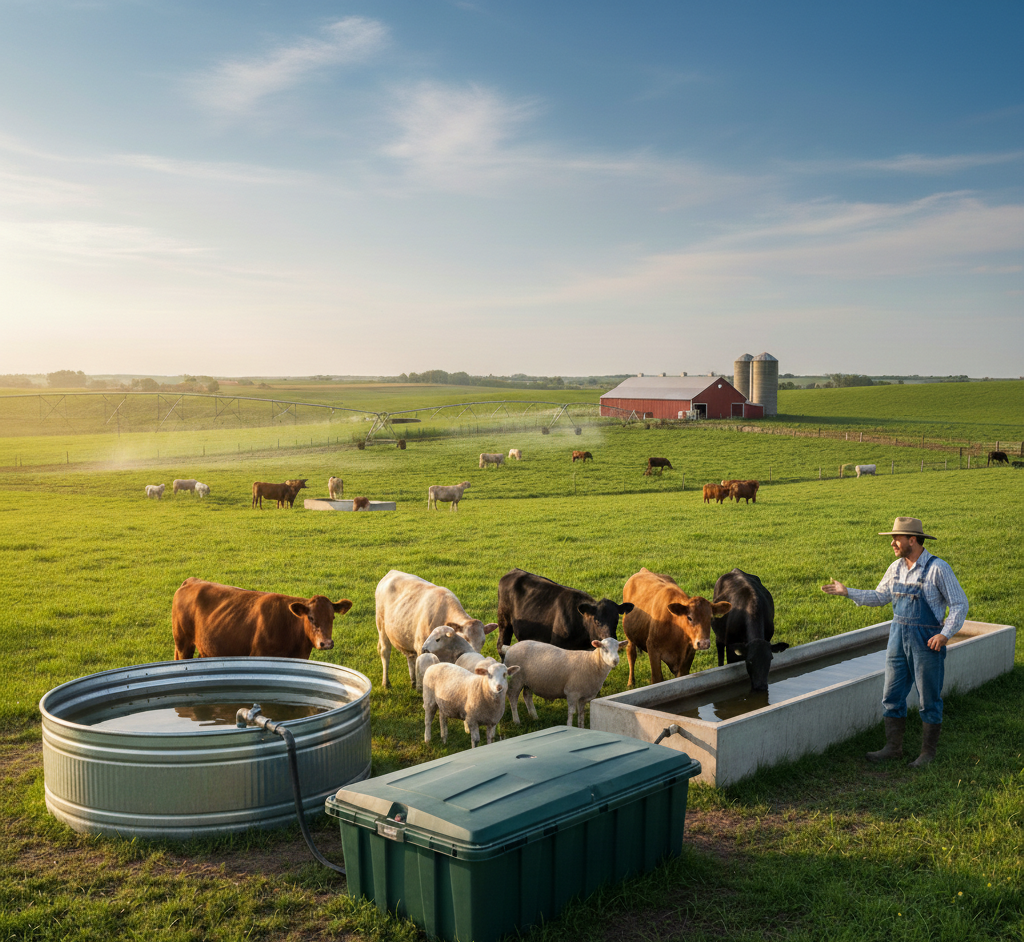
Water is usually the first bottleneck in high-density grazing. For more uniform pasture utilization in high-density grazing systems, the ideal distance to water is about 800 feet. When cattle travel farther, utilization becomes uneven, and herds tend to water in larger groups, so you need higher trough capacity and delivery rate. Rule: Set the water so animals flow through it quickly, then move the trough with the front fence, not after the mob is already thirsty.
Lanes + back-fence
If your water point isn’t inside every break, build a temporary lane with an electric fence so the mob can reach water without wrecking the next paddock. Then protect the recovery with back fences to prevent cattle from returning to re-graze where they came from. Some graziers find it optional after cattle learn the routine. Either way, it keeps recovery honest.
Starter kit table
| Tier | Fencing | Water |
| Lean | polywire + posts | trough + hose |
| Standard | polytape + reels | trough + quick-couplers |
| Optimized | netting + spare energizer | pipeline + 2 troughs |
How to Run Mob Moves Without Burning Out
See how to decide move timing, read pasture signals, and adjust for weather so daily mob grazing stays manageable, efficient, and sustainable for you and your livestock.
Move timing
Set your mob grazing move timing by growth rate, not habit. Creating a flexible rotation schedule that adjusts move frequency based on seasonal forage growth patterns helps you balance high-density goals with plant recovery needs. Animals are moved frequently (often every 1–3 days), and the rest period varies with season and grass growth rate. So when grass is racing, you move faster; when growth slows, you extend rest.
Decision rule: if grazing cows start searching for fresh leaves or revisiting grazed spots, shorten the stay (hours to 1 day). If they’re still taking an even first bite, 1–3 days can work.
What to look for at every move
Before you move, take 60 seconds and look for:
- Residual: Did you leave enough leaf for quick regrowth?
- Litter cover: Is trampling creating ground cover where you need it?
- Second bite risk: Are cows re-grazing new shoots? If yes, move now.
- Manure spread: Even coverage, or clumps around shade/water?
This quick scan, every break, helps your mob grazing stay repeatable and protects plants until they’re fully regrown.
Weather and soil moisture rules
Don’t push density when soils are wet and fragile. Grazing on wet soils can cause pugging and compaction, and removing cattle early in a precipitation event can limit damage. Meanwhile, mob-grazed fields showed increased compaction in some cases, and in those conditions, shorten grazing time, use sacrifice areas, or skip the paddock.
Pick your intent
Pick your intent. “Tall grass” mob grazing prioritizes trampling and litter. A performance-focused approach lets cows be a bit more selective. A non-selective approach targets uniform utilization across the break.
Species Playbooks: Mob Grazing Cattle vs Mob Grazing Sheep
Compare species-specific mob grazing strategies for cattle and sheep, including performance protection, parasite management, fencing needs, and movement discipline.
Mob Grazing Cattle
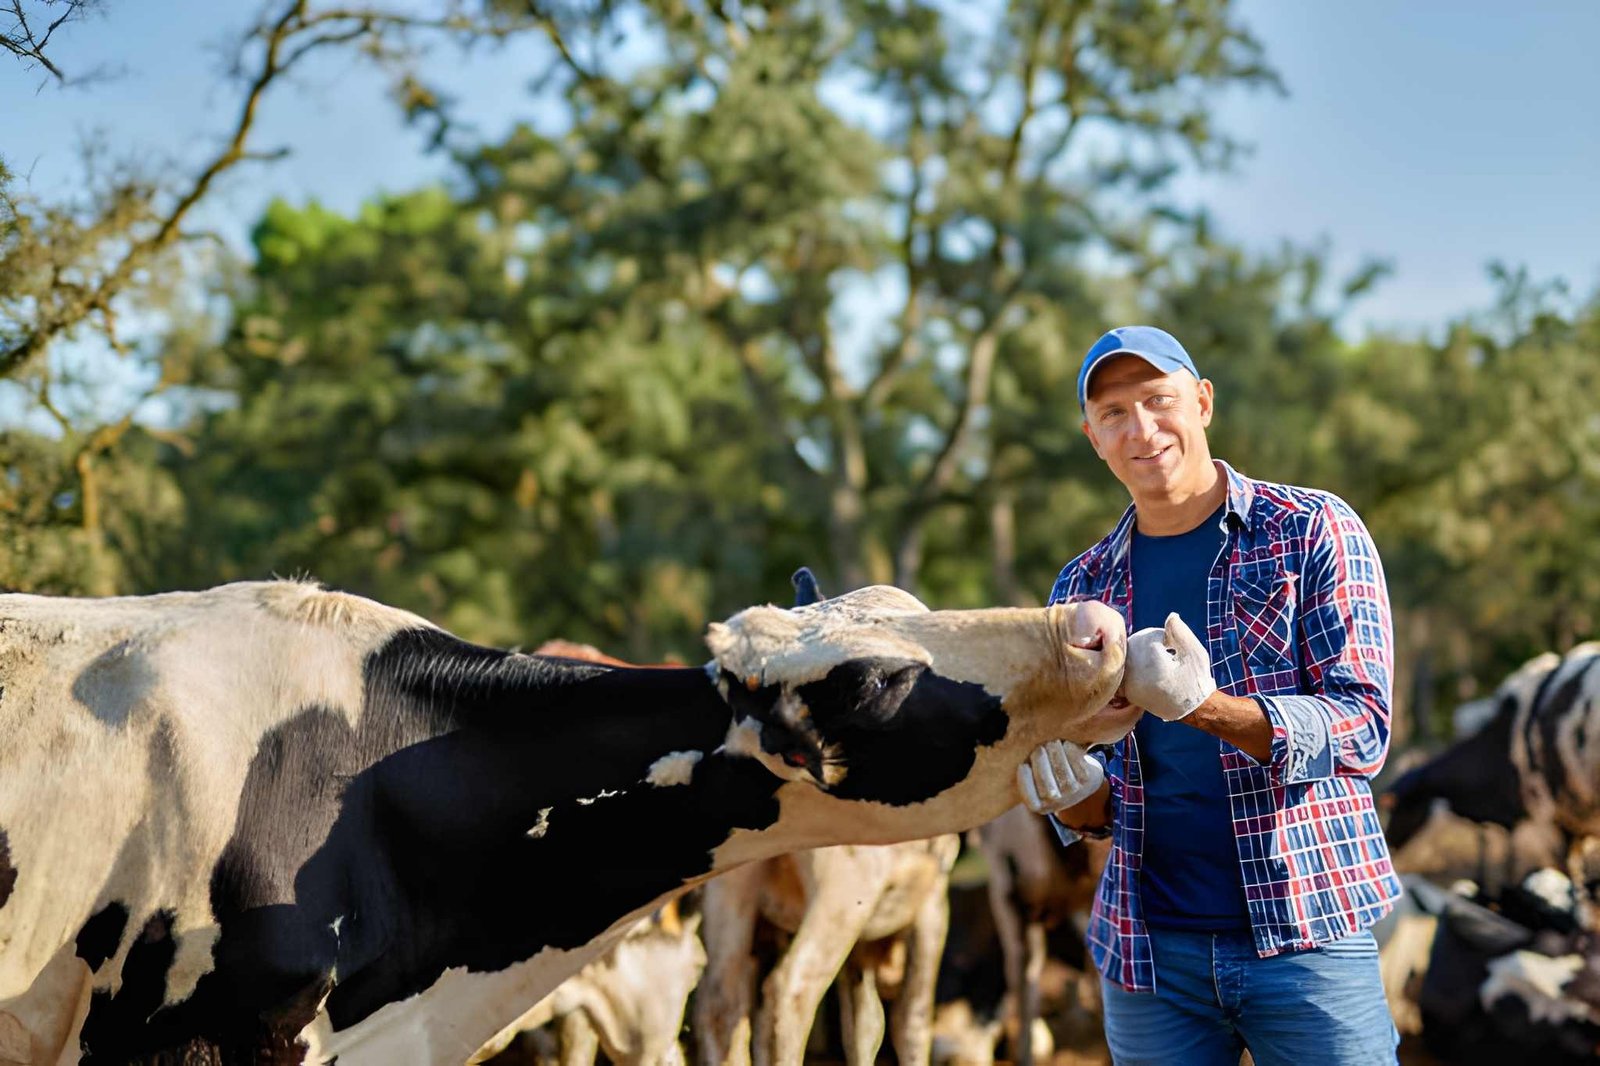
With mob grazing cattle, your first priority is keeping diet quality high. The quickest way to trigger poor gains is forcing cows to eat down into stemmy, lower-quality material just to hit a utilization number. It is essential to monitor herd performance and conditioning while you increase density. To keep gains up, allocate enough fresh forage so the mob gets a strong top bite, then move before they start searching or re-grazing.
Make checks objective: use a consistent body condition scoring approach (the common beef scale runs 1–9) and watch for slippage. A single large mob also makes quick headcounts and observation easier when animals flow through a lane or gate. For operations managing multiple mobs or larger herds, automated counting systems that verify headcount during moves catch missing animals faster and reduce the risk of leaving stragglers behind in grazed paddocks.
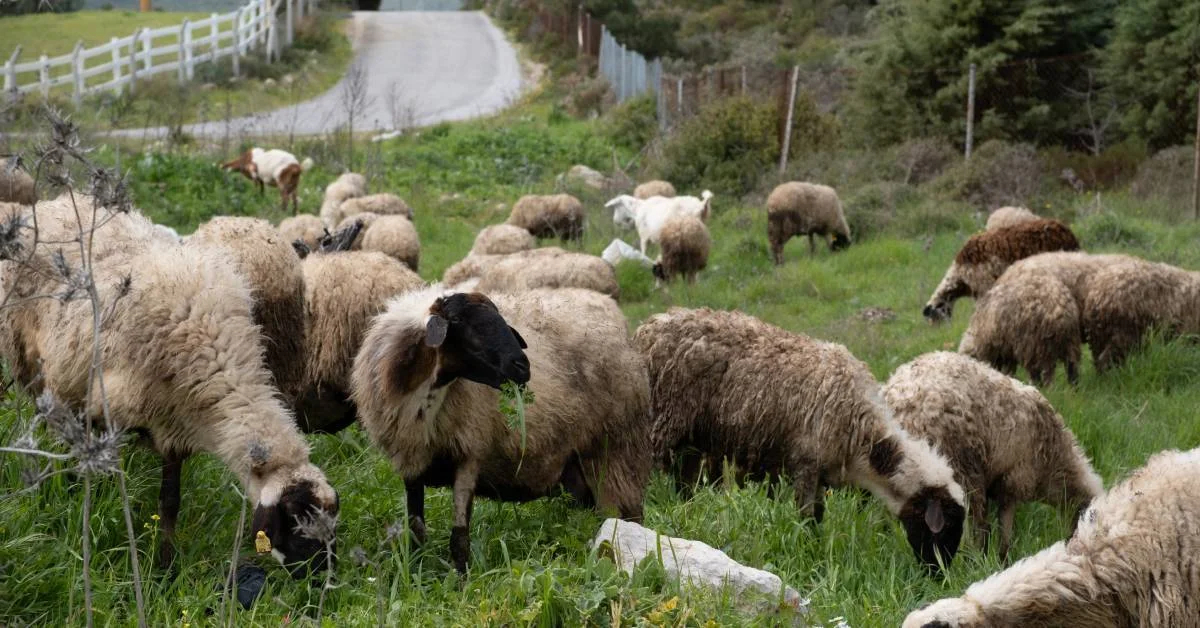
Mob Grazing Sheep
Mob grazing sheep needs parasite discipline. Parasite eggs can develop into infective larvae in about 5–7 days under favorable conditions, and larvae tend to stay low in the vegetation. So, rotate before the grass gets too short (around 10 cm) to reduce larval intake.
However, you can leverage mixed-species grazing with cattle or horses to help graze off small-ruminant parasites and to fence off damp zones. Also, use tight fencing (netting or multiple hot wires) and monitor animals with practical tools when needed.
Monitoring That Matters: Your Mob Move Log + KPIs
Track only the data that actually improves decisions, simple move logs, and grazing KPIs that help you refine density, timing, and recovery over time.
The Only 9 Fields You Need to Record Per Move
If you log every mob move, you’ll spot patterns fast without turning mob grazing into office work. Keep it template-ready and consistent; the goal is to compare paddocks across seasons, not write a diary. Centralizing mob move records, paddock histories, and performance metrics in one accessible system helps you spot patterns faster than scattered notebooks and makes it easier to refine your density, timing, and recovery decisions based on real data rather than memory. Record these nine fields for each move:
- Date
- Paddock/field ID
- Stock class + headcount
- Time in break (hours)
- Pre-graze height (or cover)
- Post-graze height
- Residue/utilization estimate (%)
- Notes (behavior, weeds, water, fence)
- Rainfall since last graze + next planned move
Optional Agtech Layer
When you’re ready to plan “what if” scenarios, grazing management tools can turn your move log into decision support. Do scenario planning for rainfall and livestock scenarios, plus graze planning and feed budgeting that helps you create mob rotation plans and evaluate feed on offer. It also prompts pasture observations each time you move a mob to keep plans accurate.
Common Mob Grazing Mistakes and Fast Fixes
Avoid the most common mob grazing pitfalls like overgrazing, short rest, compaction, and labor overload with practical fixes you can apply immediately in the field.
“Scorched Earth” Overgrazing
“Scorched earth” happens when the mob stays too long, and you chase a utilization number past what plants and cows can handle. Overgrazing is the biggest mistake and links it to animal performance issues, suggesting a 60% use / 40% litter benchmark. Treat that split as a starting point, then monitor closely weight/condition and residual every move.
Rest Periods That Are Too Short
Too-short rest is the silent pasture killer: plants get hit before they rebuild leaf and roots. Allow ample recovery time and don’t graze again until plants have recovered. When unsure, extend rest in slow seasonal periods.
Time Burden + Cattle Flow Problems
Some farms quit early: it feels like fence work. Expect trial-and-error on move frequency and setup time. Farmers may move daily or every two days, and setups can be time-consuming. Simplify flow with one lane and one routine.
Mud/Compaction Risk
Wet soils: don’t force high-density grazing. There is pugging/compaction risk on the ground, so pull cattle early during rain.
Conclusion
Mob grazing works best when you treat it as a repeatable system: density on purpose, short duration, and enough recovery to protect regrowth. Start with one “pilot paddock” and run the same move routine for 2–3 weeks so you can see residual, litter, and animal performance trends without changing everything at once. When the process feels smooth, scale to more paddocks and moves. If you want to automate mob grazing at your farm, consult with our Agtech experts to provide you with a clear roadmap for creating a system to facilitate it.
FAQs
What Is The Difference Between Mob Grazing And Rotational Grazing?
Mob grazing concentrates a large number of animals into a very small area for a very short time, often hours or a single day, followed by a lengthy recovery period that can stretch for several months. The goal is to create a strong soil impact and leave behind significant plant residue as litter.
Meanwhile, rotational grazing spreads smaller groups across larger paddocks for several days to weeks. It emphasizes steady forage utilization, consistent animal performance, and timely plant recovery rather than maximum trampling or soil disturbance.
How Many Cows Per Acre Mob Grazing?
In mob grazing or ultra-high-density grazing, stocking rates are intentionally very high, but only for short windows. It’s common to see 250 to more than 500 cows per acre for a few hours, which can translate to roughly 100,000 to over 1,000,000 pounds of live weight per acre. These numbers are not daily targets; they’re momentary densities used to achieve specific soil and residue management goals.
What Are the Disadvantages of Mob Grazing?
The disadvantages of mob grazing include:
Higher labor and setup costs: Requires frequent moves, temporary fencing, reliable water systems, and active daily management.
Steep learning curve: Success depends on precise timing and observation; most producers go through trial-and-error before finding the right balance.
Risk of overgrazing if mismanaged: Staying too long or returning too soon can damage plant recovery and root systems.
Soil compaction risk in wet conditions: High animal density on moist soils can lead to pugging and compaction if not adjusted carefully.
Lower immediate grazing efficiency: More forage is trampled as litter rather than consumed, which can feel inefficient in the short term.
Potential animal performance challenges: Taller, more mature forage can be less nutritious, sometimes requiring breed selection, deeper-bodied animals, or tighter move timing to maintain gains.
What Are the Benefits of Mob Grazing?
The benefits of mob grazing include:
Improved soil health: Increased ground cover and litter can build soil organic matter and improve water infiltration over time.
Better pasture resilience: Longer recovery periods support stronger root systems and more persistent forage stands.
Extended grazing seasons: Improved forage utilization and stockpiled feed can reduce reliance on stored feeds.
Reduced input costs: Many producers report lower fertilizer, feed, and renovation needs as soil function improves.
More uniform manure distribution: High-density grazing spreads nutrients evenly, improving fertility across paddocks.
Higher long-term carrying capacity: Healthier soils and better forage recovery can support more animals per acre over time when managed correctly.